If you saw my Facebook and Instagram posts a couple of weeks ago about some assembly required packages that I had received, you may be wondering what were inside. So here goes.
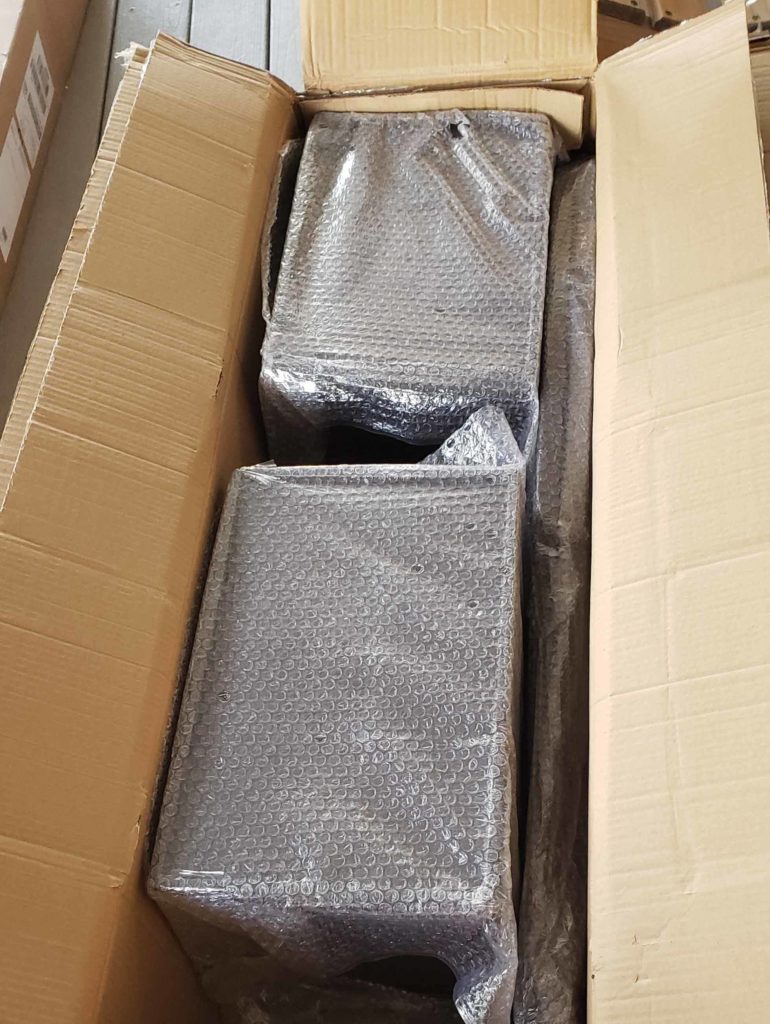
This is how the first box looked upon opening. Arbor #1. I pulled everything out and took off all of the bubble wrap. Assembly required but not too bad. Here are all the pieces all laid out. This arbor is all metal. It has some pretty jewel pieces on the curvy trim on top.
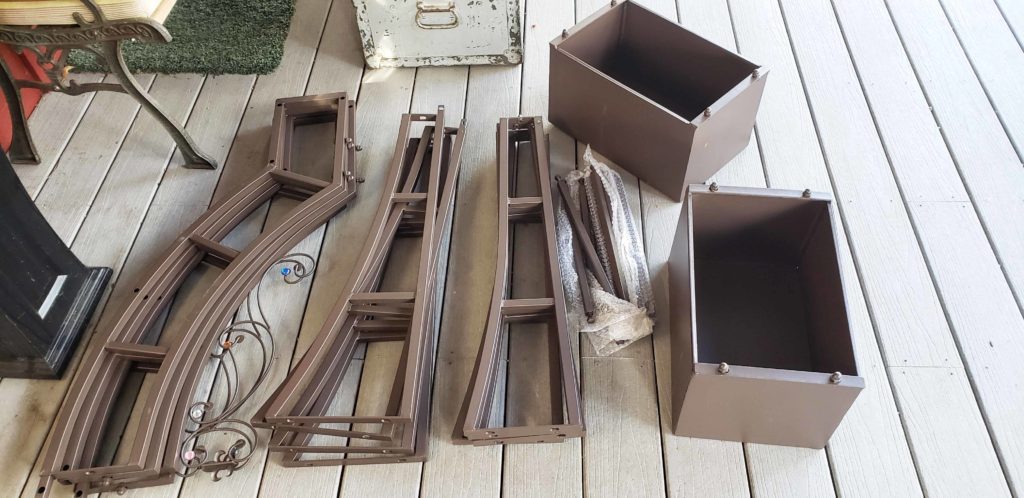
I started by attaching the boxes to the uprights. All of the bolts were attached to the pieces with the nuts already on. I just unscrewed the nuts, put the pieces together per the instructions and screwed the nuts back on. Simple.
This is how they looked with the boxes attached to the uprights.
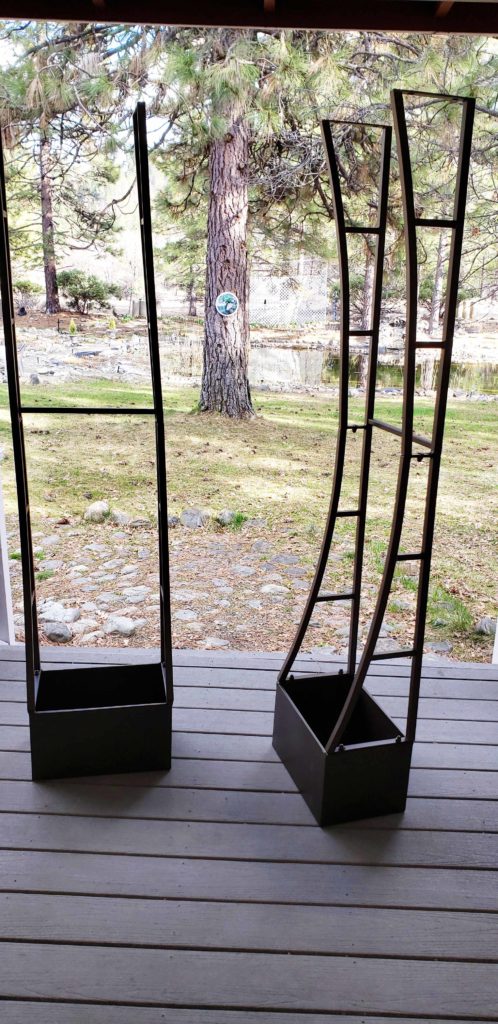
Rather than putting it all together and then trying to move it, I moved all the pieces to the permanent location and finished assembling it there. I attached half of the top pieces to each side of the uprights along with a few of the upper cross pieces until it was stable enough to not bend apart. I then attached to the two sides together joining it in the center and the attached the rest of the top cross pieces. I tightened all of the nuts and bolts up with the provided wrenches.
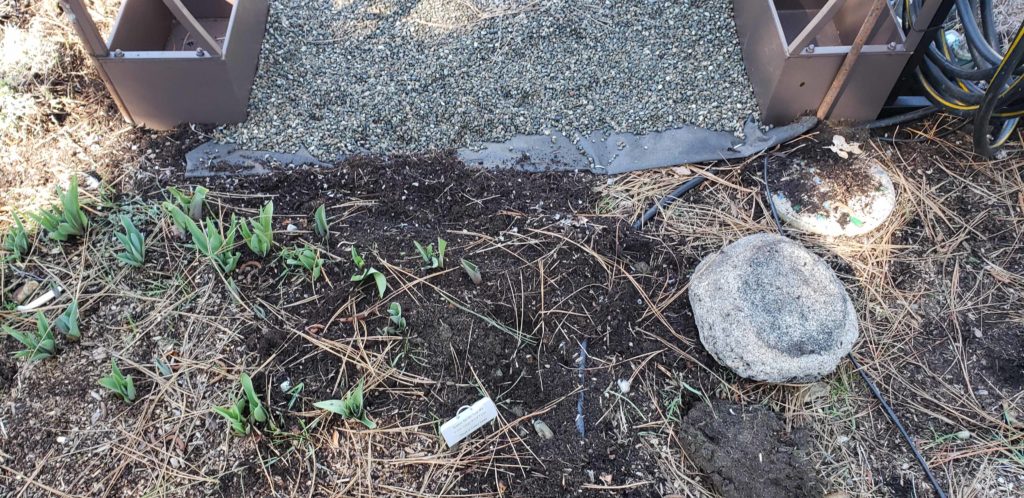
I leveled the arbor into position where I wanted it and secured it to the ground by hammering in some metal stakes at the corners and then attaching the stakes to the arbor. I just used zip ties for now but they won’t last long. I need to pick up some good metal wire for a more permanent tie down solution. One side had some rocks in the ground and therefore the stakes would not work where I wanted them. I ended up just using one on the side as you can see in the above photo. It will work and the plants should cover up any unsightlyness.
I also had to drill some drainage holes into the bottoms of the planter boxes. I drilled 5 holes in each box — 1 in each corner, and 1 in the middle.

The arbor goes from a gravel pathway into a flower bed with a stepping stone path. I had to move the stepping stones over a bit and also move some of the tulip bulbs out of the way that I had planted last Fall. All the plants that I had to move found new homes and all is good. I brought in some gravel to fill the area underneath the arbor as it leads to the stepping stone pathway. I did put down some weed cloth under that gravel first though. It will help prevent the dirt from coming up through the gravel, as well as any weeds that may be there.
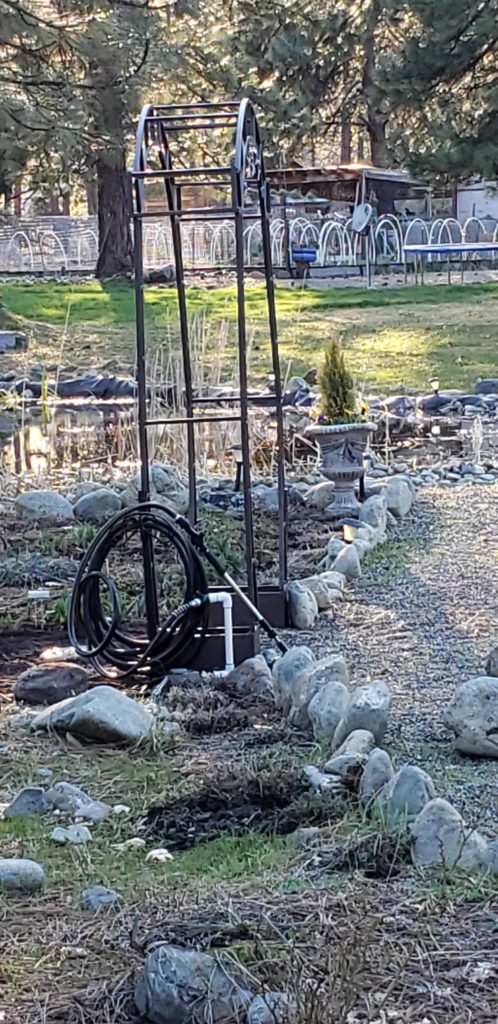
Near this arbor is a water source that I have a drip system attached to which waters this whole area of the yard. There is also a hose for any extra water usage I may need out there. I utilized one of those hose stakes which I pressed into the ground near the arbor and fasted it to the arbor for stability. It has turned out to be a great location to hang the hose.
The arbor still needs some flowers planted in the boxes which I have. I’m just waiting a bit longer for the weather to warm up and then I will get the clematis planted and let it grow up and over that arbor.
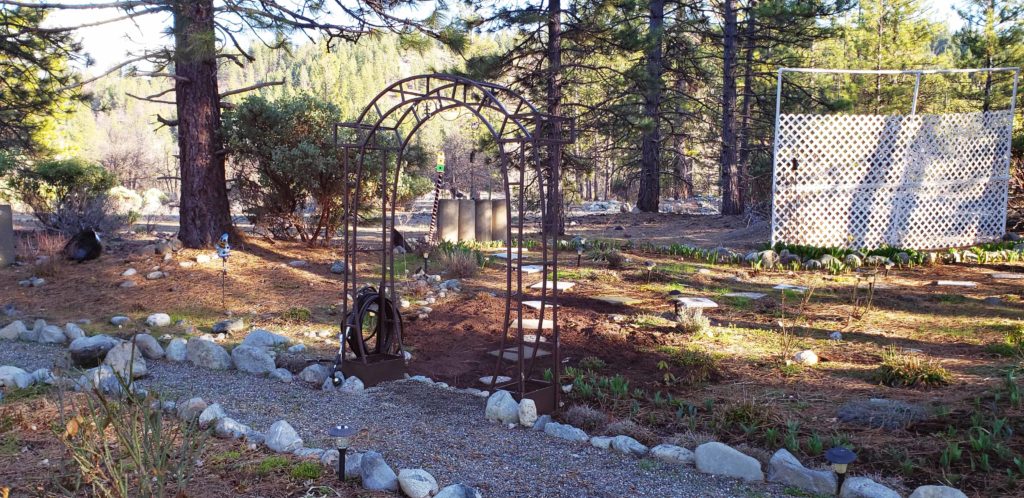
I absolutely love the way it turned out. I can’t wait to see what it looks like covered in blooms. Now to tackle those weeds.
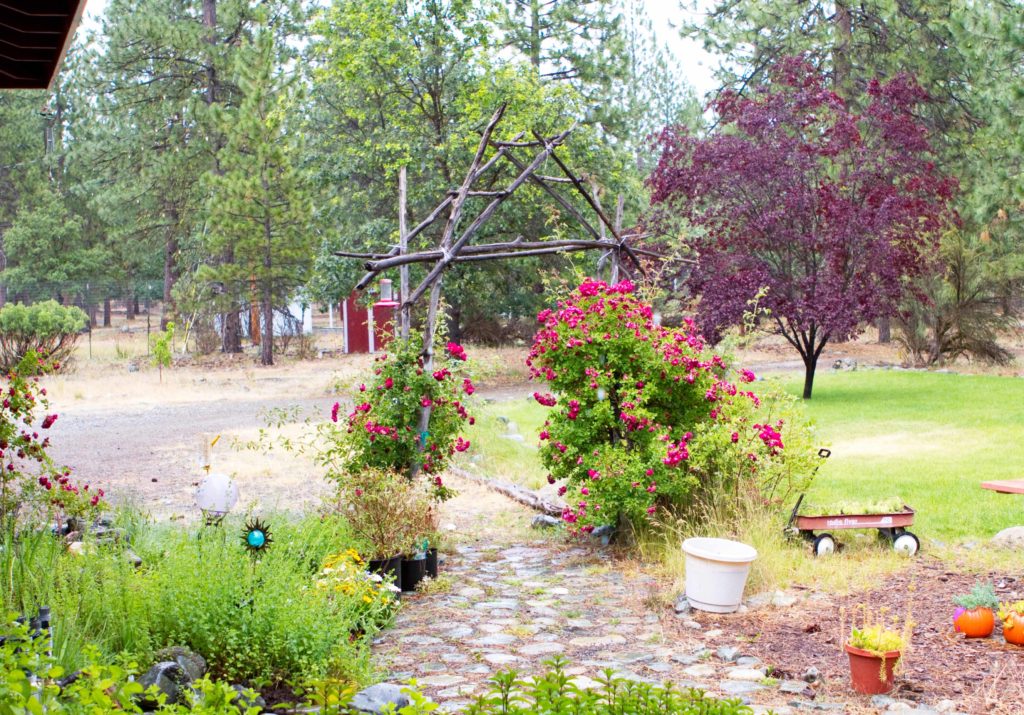
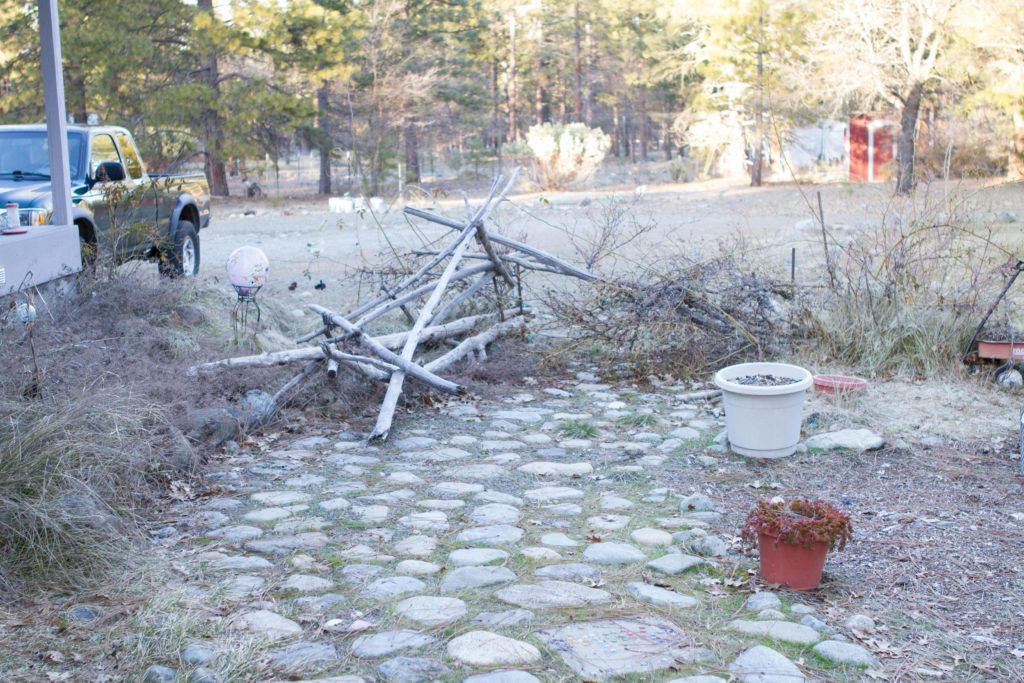
Box #2 was another arbor. A replacement for the one I removed which was damaged in a storm last Fall.
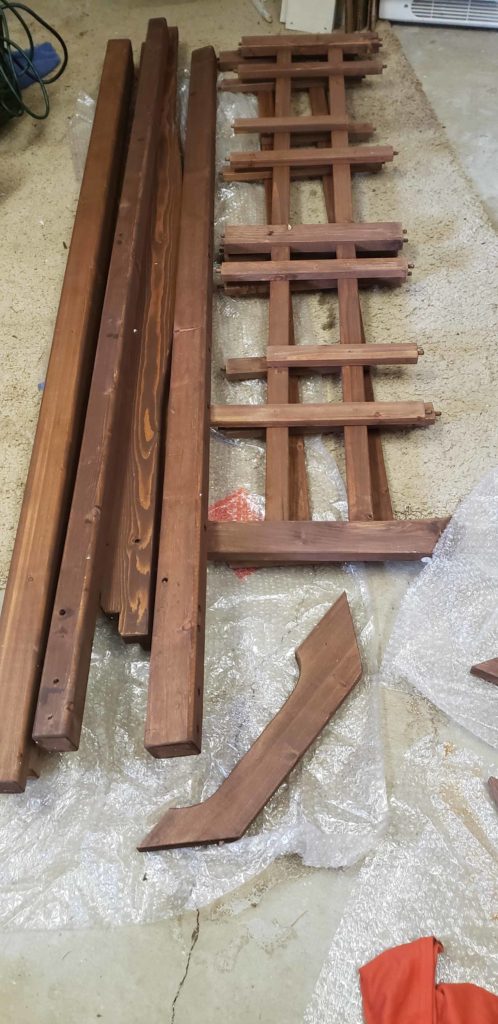
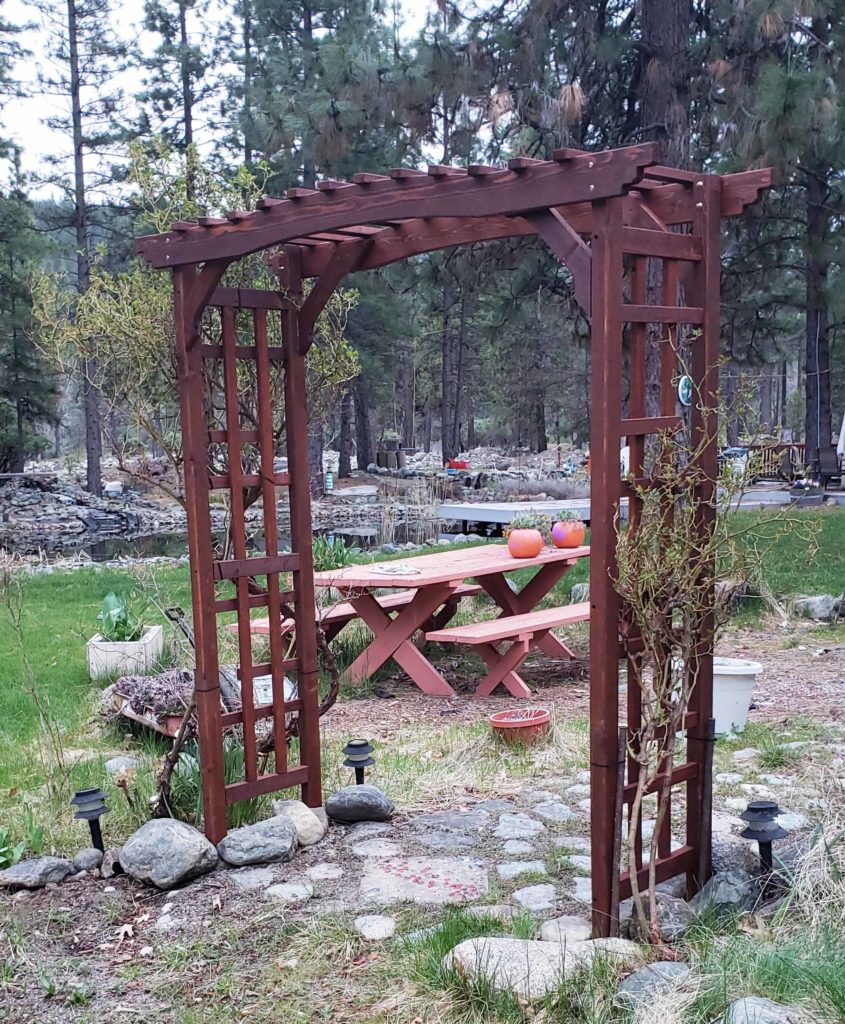
This arbor is wooden. It came totally unassembled but stained, each piece wrapped up nicely in bubble wrap.
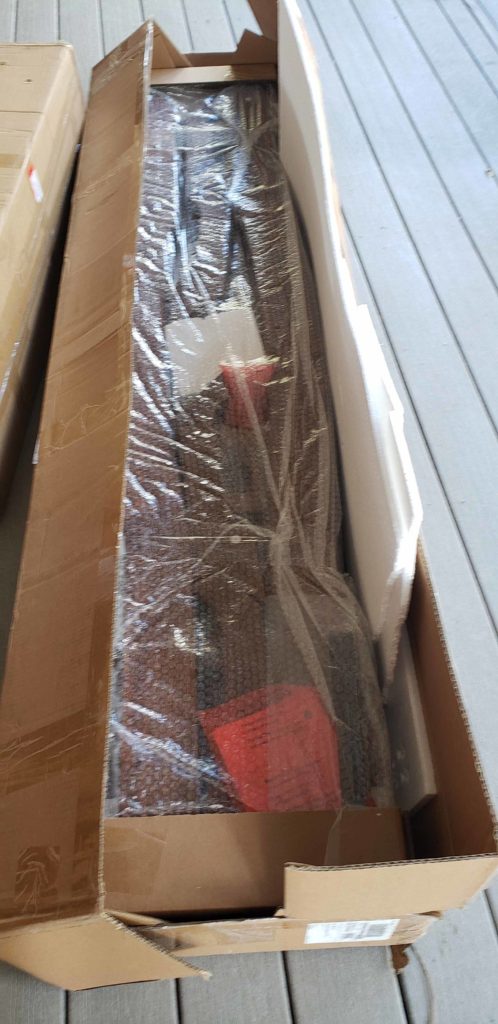
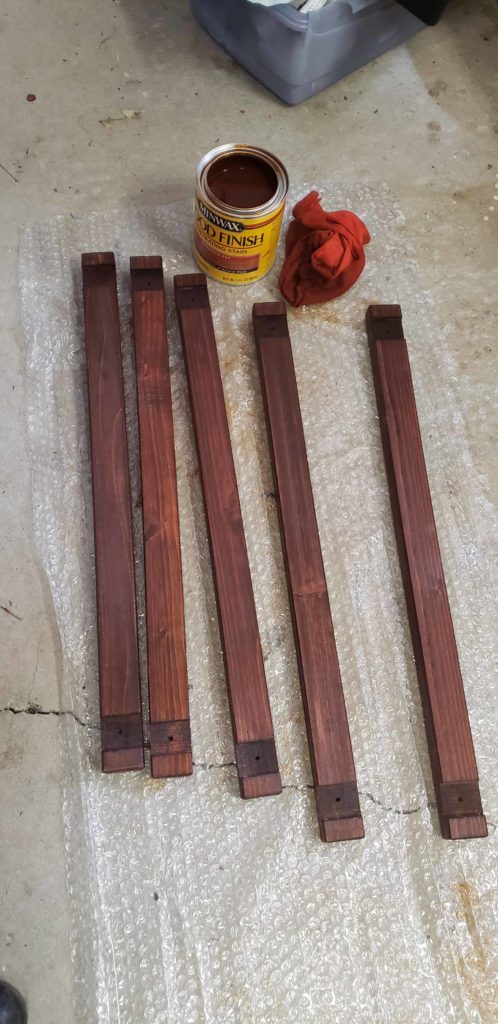
I decided to give it another coat of stain for some added protection prior to assembling it. I picked up Minwax stain in a gunstock color. My store did not have a cedar but gunstock was a close second. The color is actually pretty nice. I stained each piece and then let it dry for a few days. Besides it was raining and I couldn’t do much outside anyways. The photo below on the left is how it arrived. The other 2 are after I stained them.
After the stain was dry I began assembly. I put the sides together and again put it into position and assembled the rest of it in place. Leveled it and secured it to the ground with stakes. I then tied the roses up to it to encourage them to grow over the top. I seriously chopped the heck out of those roses so we’ll see how they rebound. But it looks promising.
The previous arbor was built by me with downed trees we gathered from the nearby creek. This new one doesn’t have the character and uniqueness of the old one, but I like it just the same.
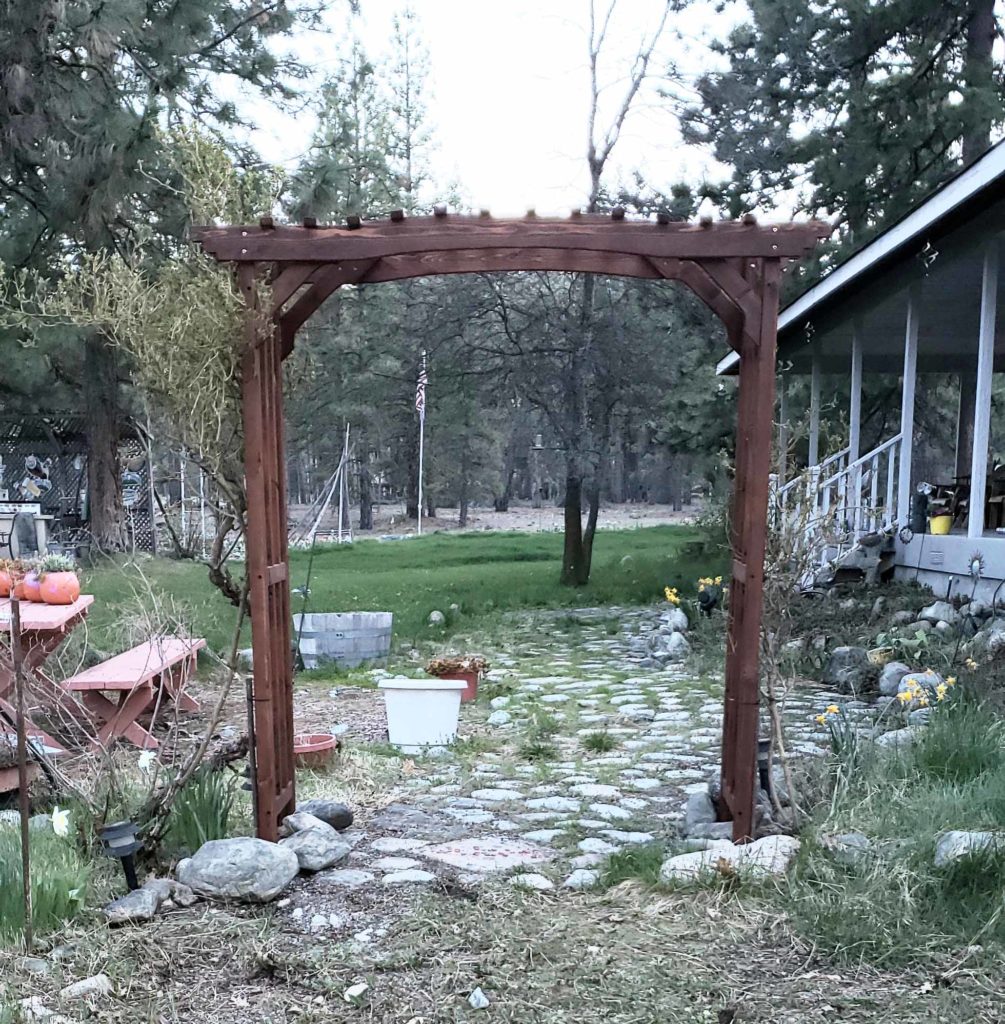
New additions to the garden are so much fun. It’s like getting a new dish for your dinner table. What goes in the dish may be the same just like the flowers on the arbor, but that dish (and this arbor) are new and it’s exciting to have.
What new additions are you making to your yard this year?
