
I’m a canner. I love to can my own fruit and enjoy the fruits (pun intended) of my labor all winter long.
I grew up canning. My mother canned, and still does a little bit. Her mother canned. It is a family thing.
Some ask why I still can so much since I don’t have kids at home any more. Well I still love to eat my canned produce. And the grandkids love to eat my canned fruit. And my kids love to take some home. It’s a good thing I love to share.
I like being self-sufficient and eat quality food. If I can pick up some fresh fruit at a reasonable cost and can it to be consumed at a later date, then I have saved a ton of money.
I like canning all types of fruits and vegetables. What I usually have in the pantry in the way of fruit is peaches, pears, applesauce and pie apples. On the vegetable side, I will can pickles, squash, green beans, corn, tomatoes, tomato sauce, sweet relish, – just to name a few.
I love walking into my pantry at the end of summer and seeing the shelves full of canned, mostly homegrown, goodness. To be able to bring the summer’s bounty along through winter is so nice.
One of the benefits to canning your own food is that you know what you are getting. You know what went into that jar. There is nothing better than homegrown food to feed your family. The taste is out of this world and it carries across through the canning process.
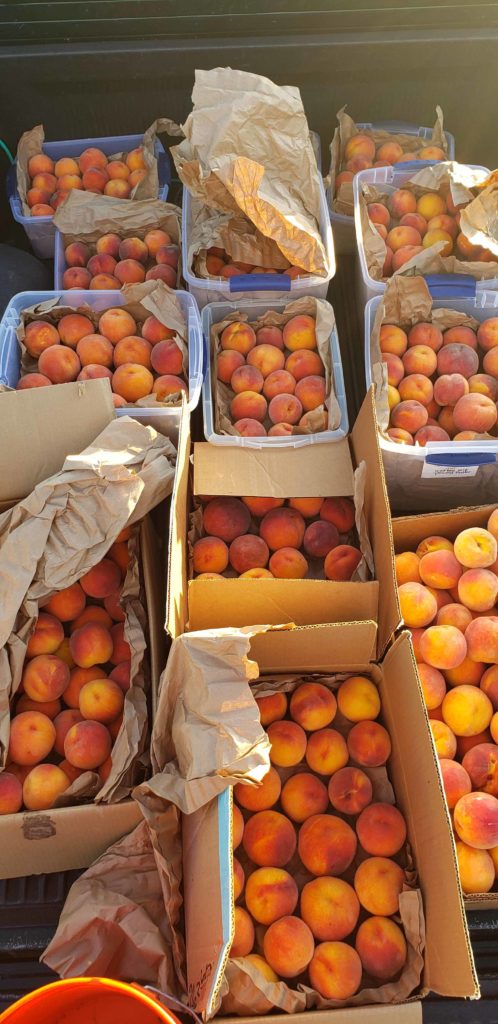
I picked 364 pounds of peaches last week and canned up most of them. Froze a bunch as well. And of course ate some fresh and baked into yummy treats.
Let me show you what I did.
First of all, 364 pounds peaches are a lot of peaches. It was not my plan to get that many peaches, but that is what I ended up with. Sometimes you don’t know how pounds you have until they are weighed up. And it’s okay. It’ll just be that much longer before I have to do it again.
It takes time to process that many fruit, especially when you do it all by yourself. When I got home from picking the peaches, I spread the fruit out in the shade on my porch so that that they weren’t stacked upon each other and they were able to breath. These peaches were ripe and they would rot pretty quickly if not dealt with soon.
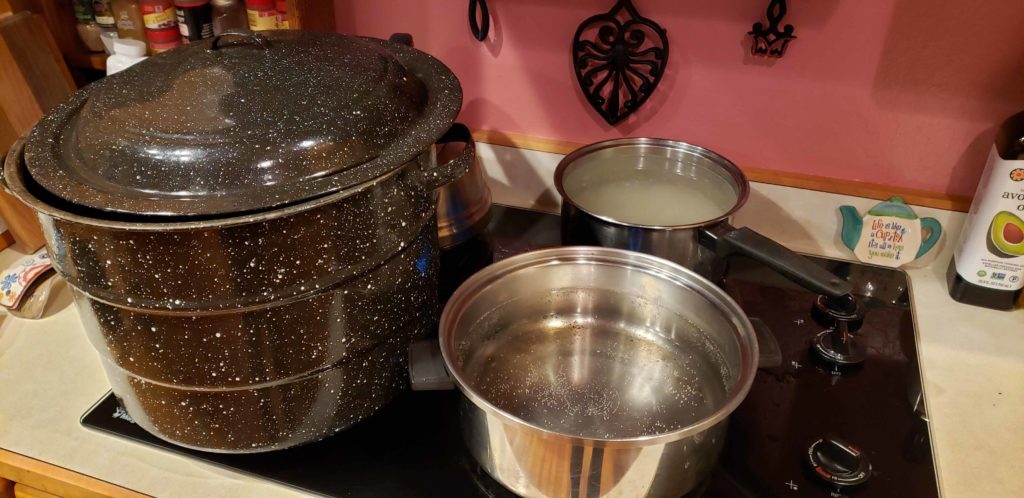
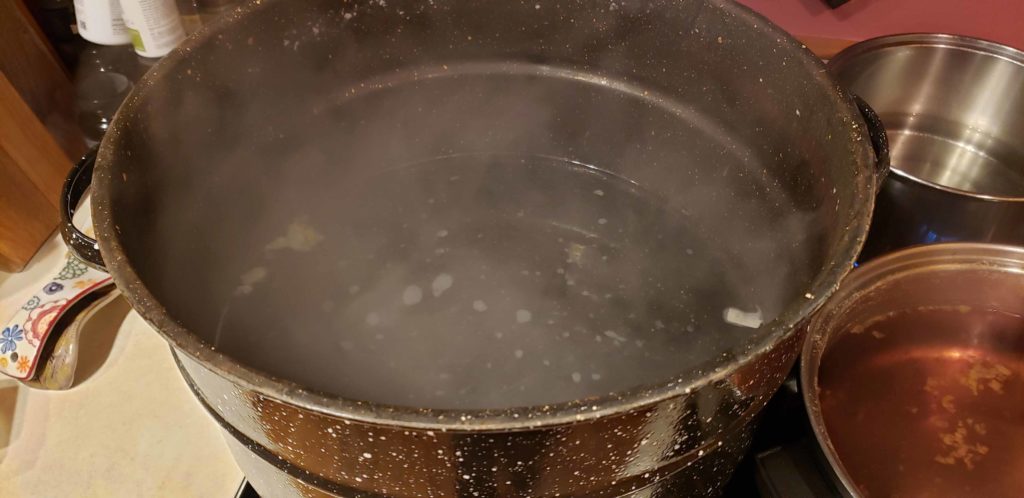
This is my set up. My water bath canning pot, a large pot of boiling water, and a large pot of sugar water (syrup). I like to use a light syrup for my fruit so as not be too sweet. The fruit has a ton of it’s own sweetness and I prefer that flavor. To make the light syrup I use about 1 cup of sugar per 2 cups of water. Heat that syrup water up until the sugar is melted and then turn the burner down so as to just keep it hot.
I put enough water into the canning pot so that when it is filled with jars, the water just covers the jars and I turn the stove on to get that boiling.
Make sure you have your jars ready. They should be clean but do not need to be dry. I usually give mine a quick wash and rinse and put them upside down on my drain board, or a towel on the counter. Some people like to run their jars through the dishwasher to sterilize them. I don’t feel this is necessary as I wash mine in hot water but do as you feel comfortable.
The other pot of water on the stove is for peeling the peaches. It is just plain water. With that water boiling, I bring in a box of peaches of the most ripe ones I can find . I put a batch of them in the boiling water. I can usually fit about 7-8 in my pot. I could use a larger pot but then I get a little ahead of myself and I can’t work that fast. Better to do things in smaller batches. There is no need to wash the peaches. The boiling water will remove any dirt and debris, plus you will be peeling them.
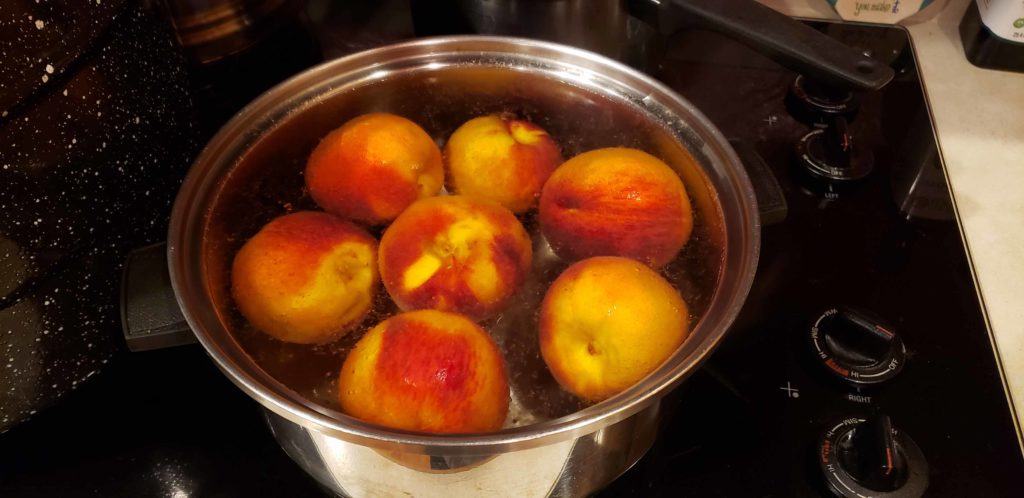
The purpose of the boiling water is it makes the peaches very easy to peel. You want to make sure the peaches are completed covered with the water and leave them in the pot for a few minutes. You do not want them in there long enough to cook, just long enough to soften the outer edge of the peaches.
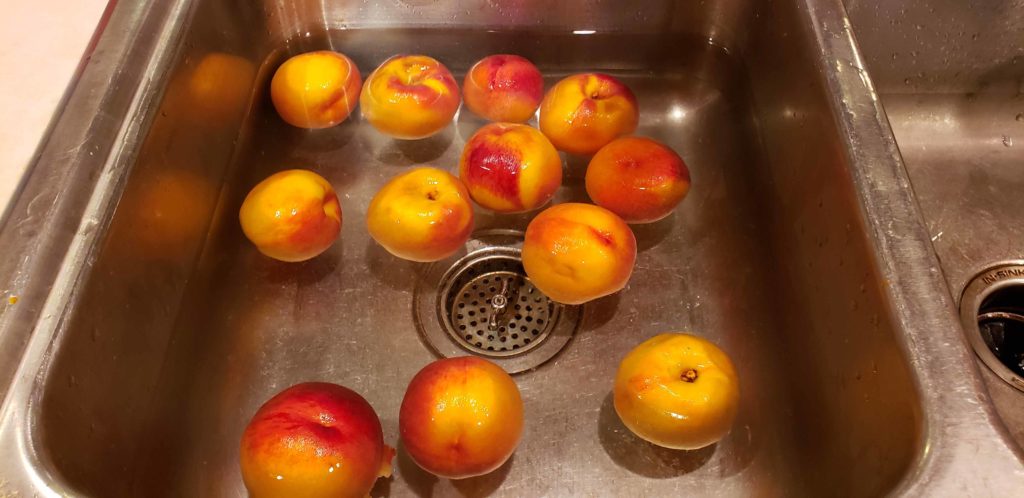
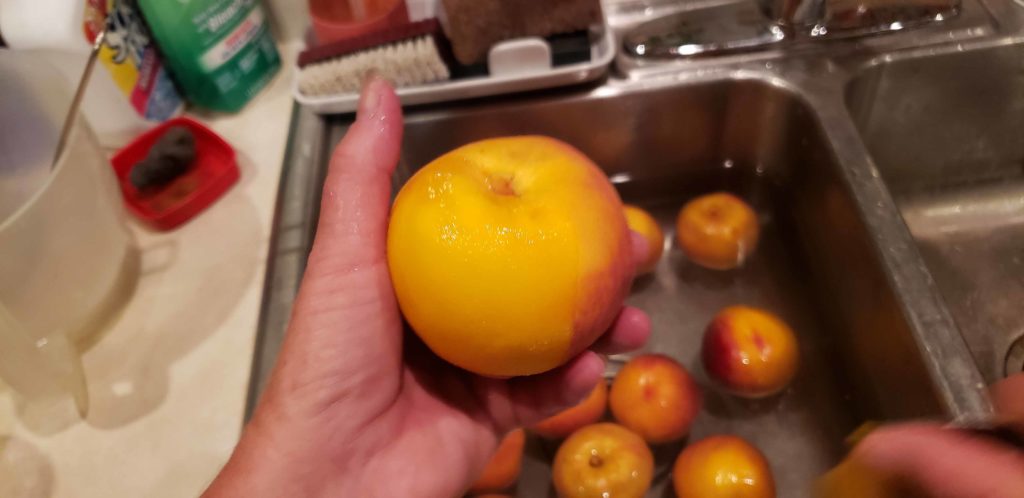
Remove the peaches from the pot of water and put them in cold water. I usually just fill my sink up with really cold tap water. I scoop the peaches out of the pot, and drop them right into the sink. The cold water stops the peaches from cooking and cools them off so you can handle them. This cold sink water should be changed when it is no longer cold. Usually after 3-4 batches of peaches.
While I am working with these peaches, I drop some more into the pot of boiling water.
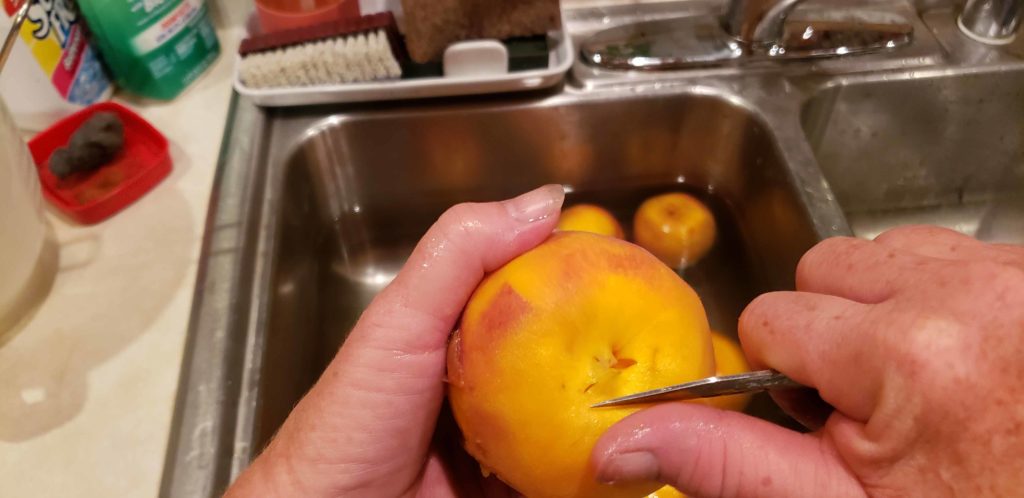
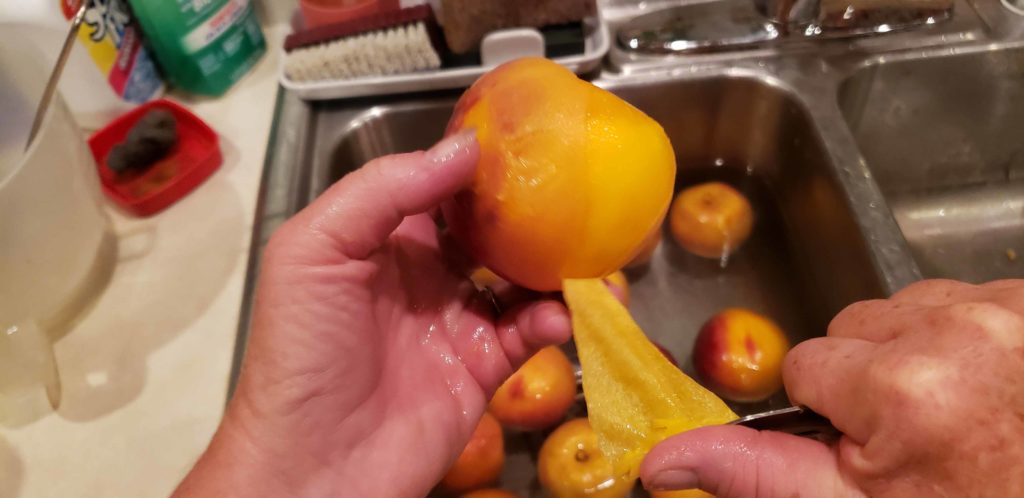
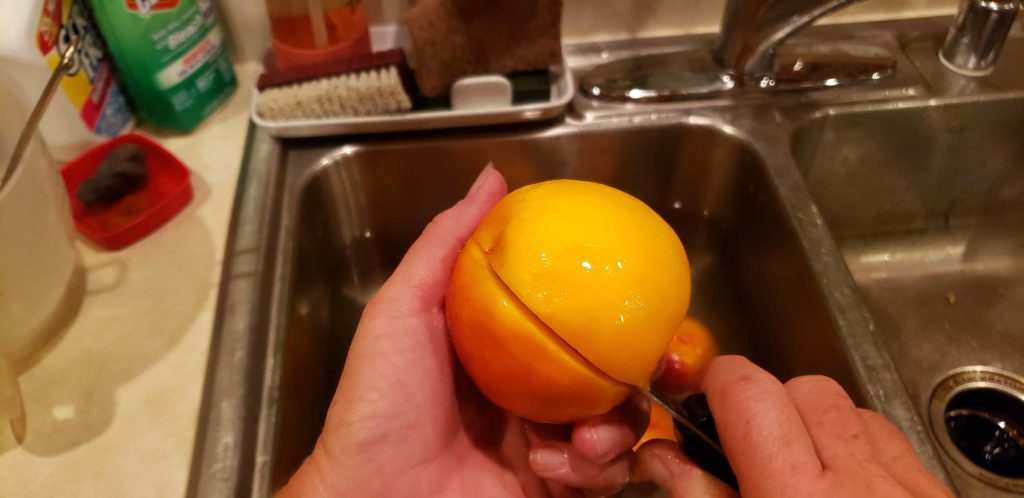
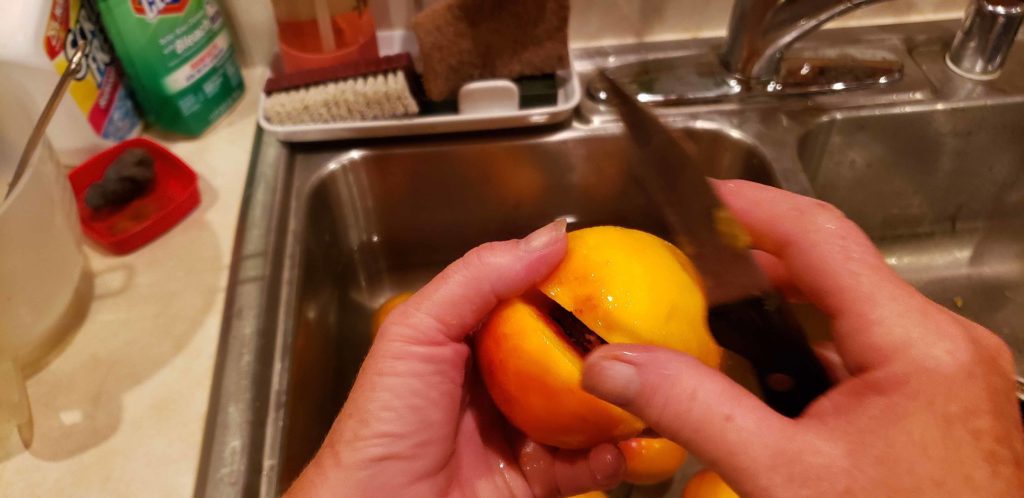
The peaches do not take long to cool enough to handle them. I then take a pairing knife and just peel the peels off. I usual start at the top where the stem was attached as the skin has usually already pulled away from the peach flesh at that point. The skins come off very easily if the peaches are ripe. If they peaches are not quite as ripe, you may have a little bit of difficulty. Sometimes that peach may need to be put back in the boiling water for a bit. Sometimes you just need to cut the peel from the peach if it is stuck in a certain spot. For the most part though, you should be able to get most of the peels off super easily.

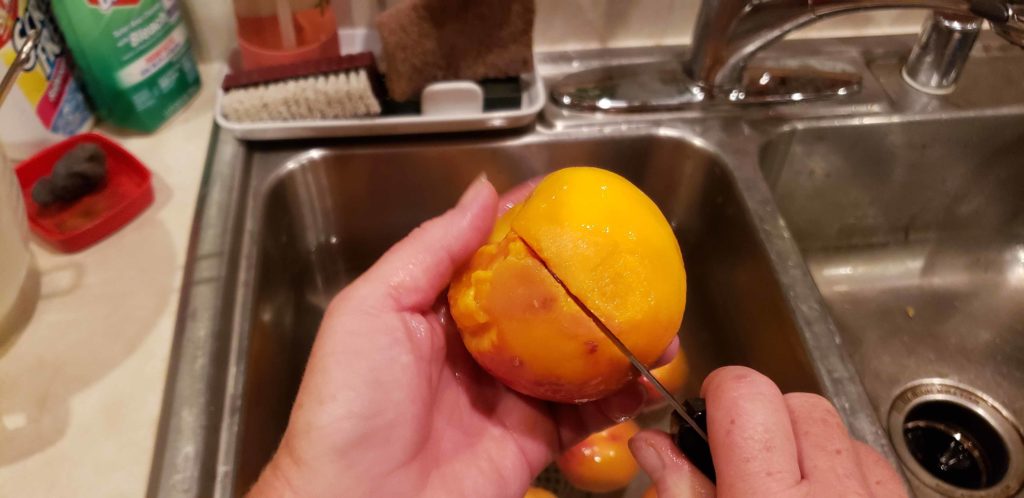
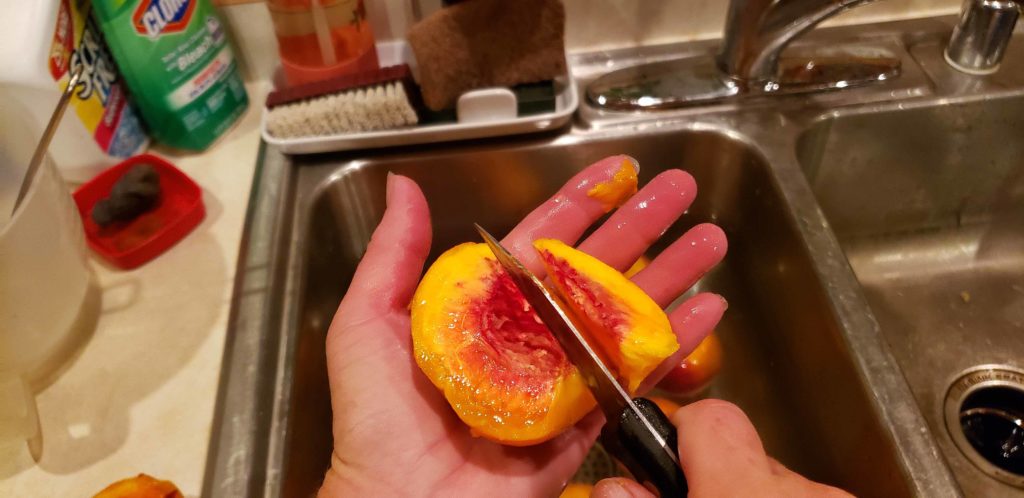
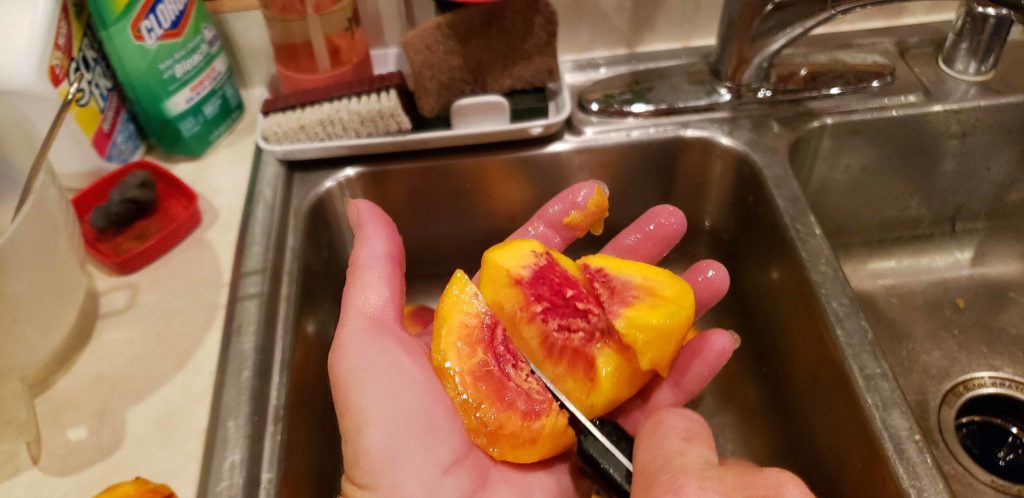
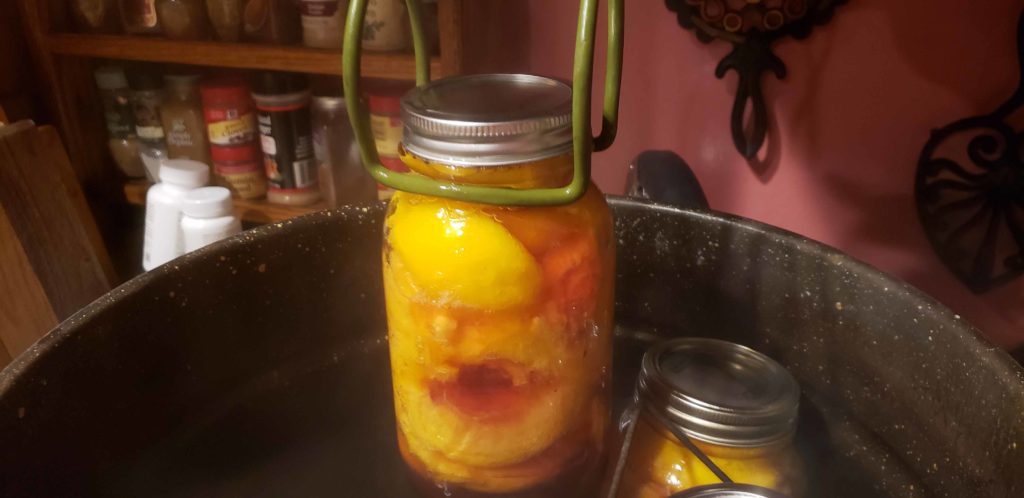
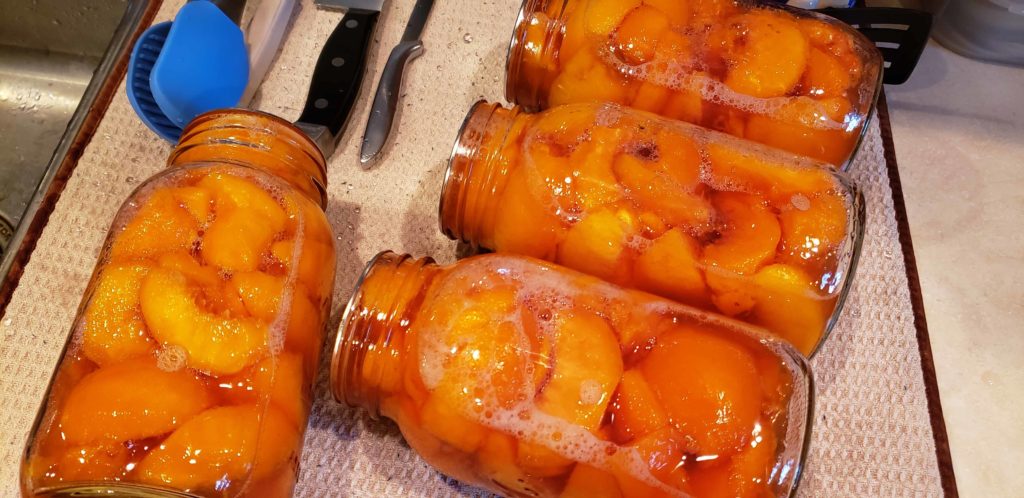
Then while the peach is in my hand, I just cut it in half, remove the pit and then cut each half into thirds or fourths, depending on the size of the peach, and drop them into a canning jar. You can leave them in halves if you prefer. Just make sure you use a wide mouth jar if you do. It will make it easier to get the peach in and out. I prefer the slices.

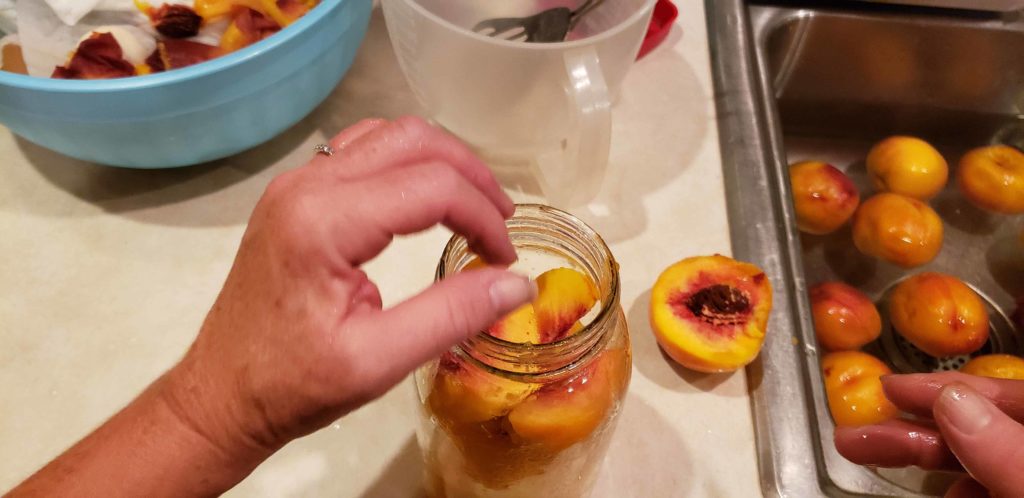
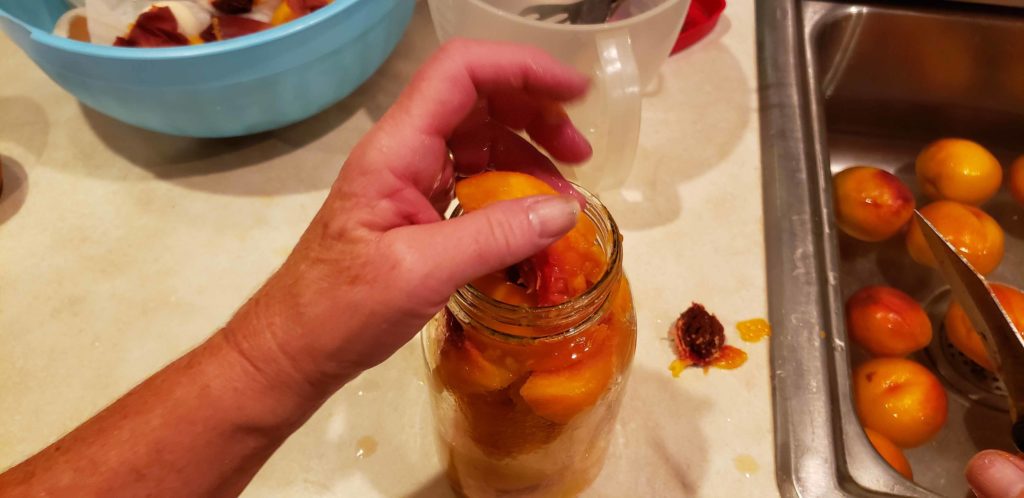
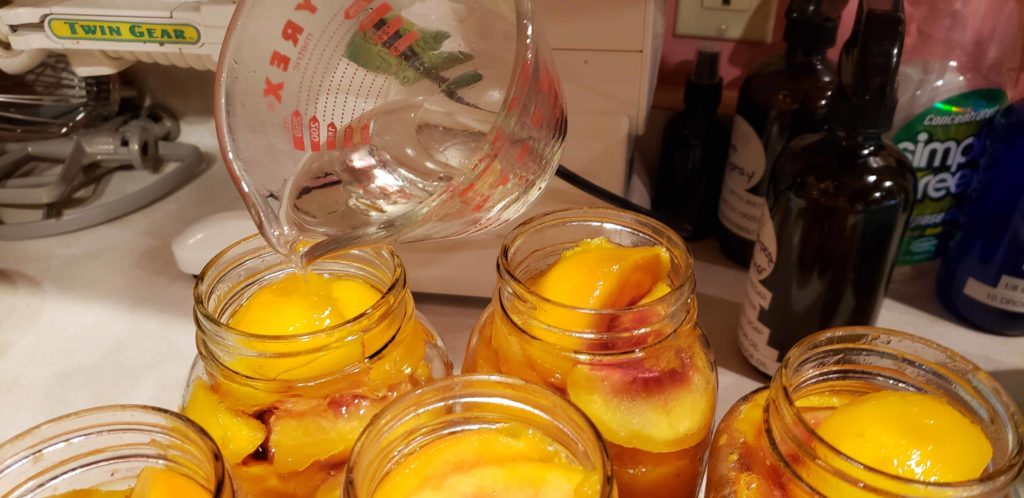
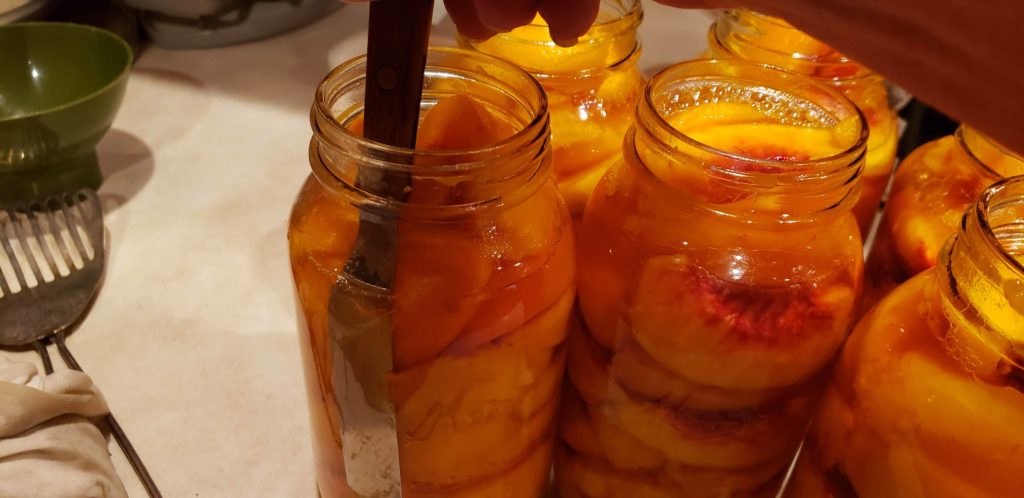
Make sure that jar of is full of peaches but not overly full. You want them about an inch below the rim of the jar but packed in there well without smooshing them. Then scoop up some of that hot sugar syrup and fill the jar with it. A 1 cup glass measuring cup works well for this. Take a butter knife or other flat utensil and scrape around the inside of the jar to get any bubbles out. You may have to add more syrup after removing any air bubbles.
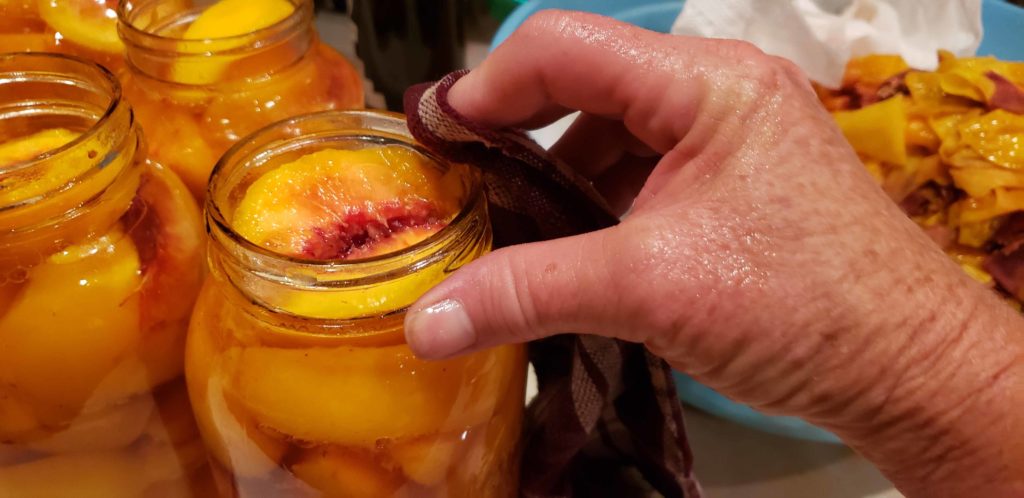
The next step is to wipe off the rim of the jar to make sure that it is clean. You do not want any sugar or peach pieces on it as that will prevent the lid from sealing to the jar. I usually take a clean dish rag and wet it with hot water and then wipe the rims.
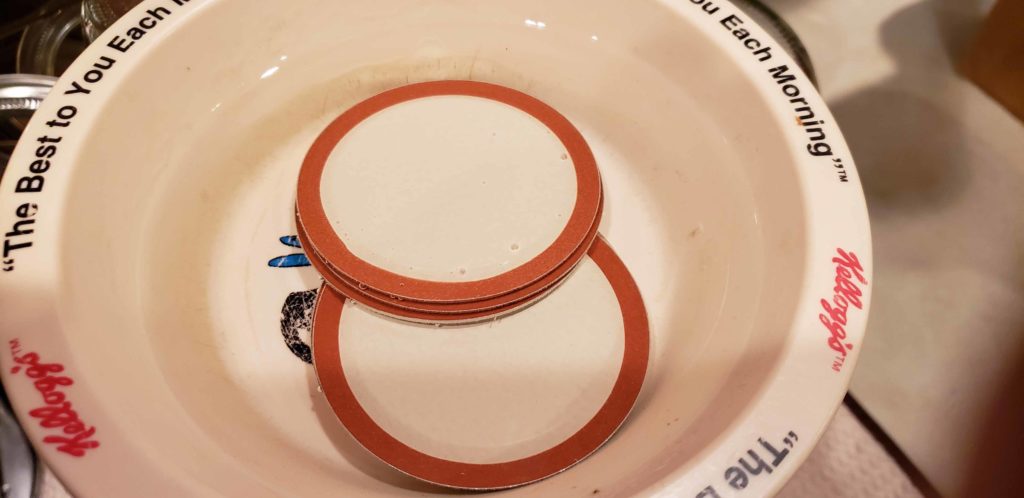
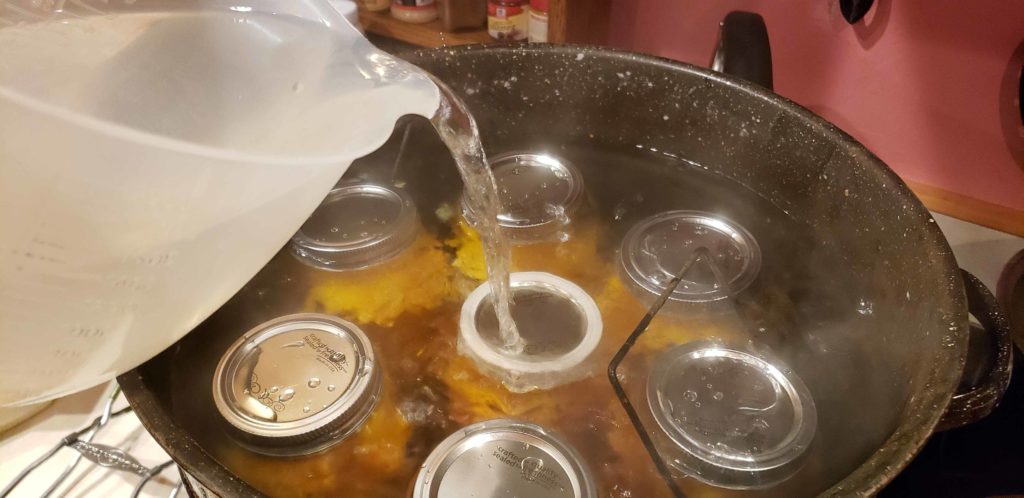
Your lids should be soaking in some hot water so that the rubber seal is sterilized and softened up. I usually place them in a bowl or dish and cover with hot water.
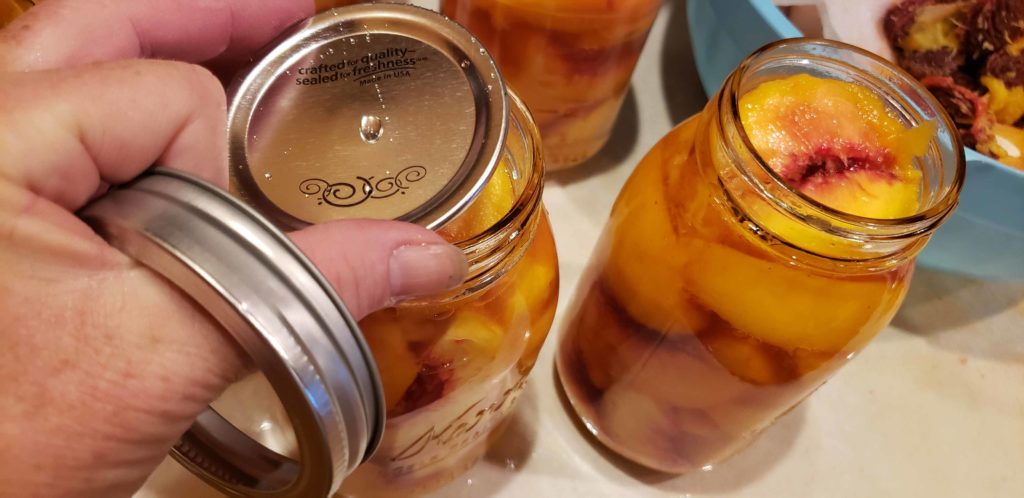
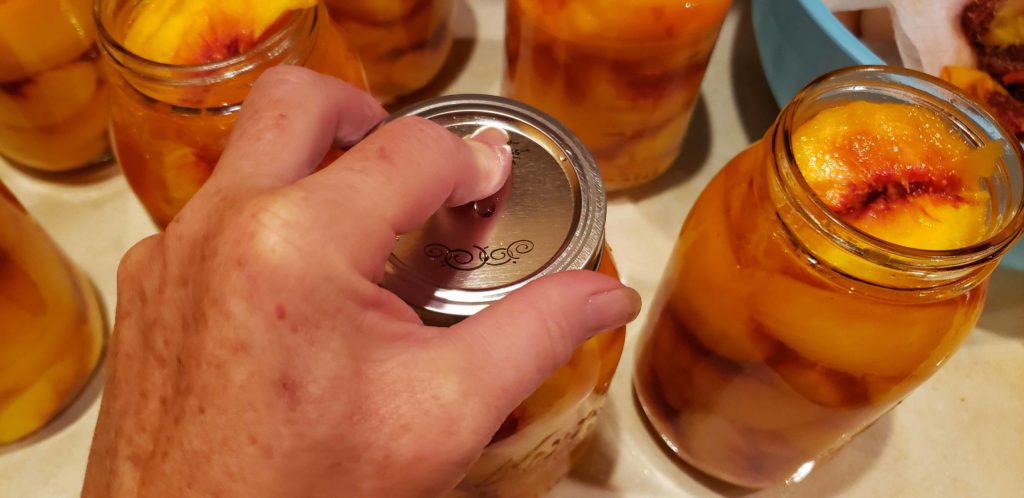
Place a lid on the jar and then tighten a band on top. Don’t tighten too tight but do make it snug.
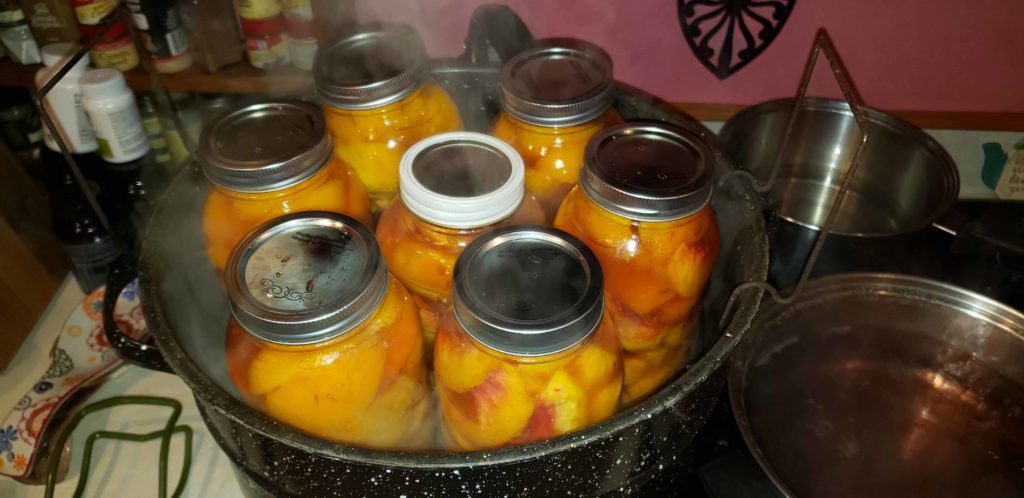
Just repeat until you have enough jars for your canning pot. My canning pot holds 7 quart jars, so once I have that many, I put them in the canning pot for processing. Your canning pot should have a nice jar rack in it to keep the jars from hitting against each other.
I make sure there is enough water to cover the jars. If not, I add some more. Put the lid on and bring to a boil. Once the water is boiling, set a timer for the correct processing time. For peaches in quart jars, they should boiling gently for 20 minutes.
While the peaches are processing in the canning pot, I continue to jar up more peaches. I make sure my final jars are in increments of 7 so that I can process a full batch each time. I usually end up with several batches of jars waiting to be processed by the time I’m done with the peeling process.
With this many peaches, it takes me several days after work to get them all put up. I do as many as I can and make sure they all get processed the same day. Then I start all over the next day.
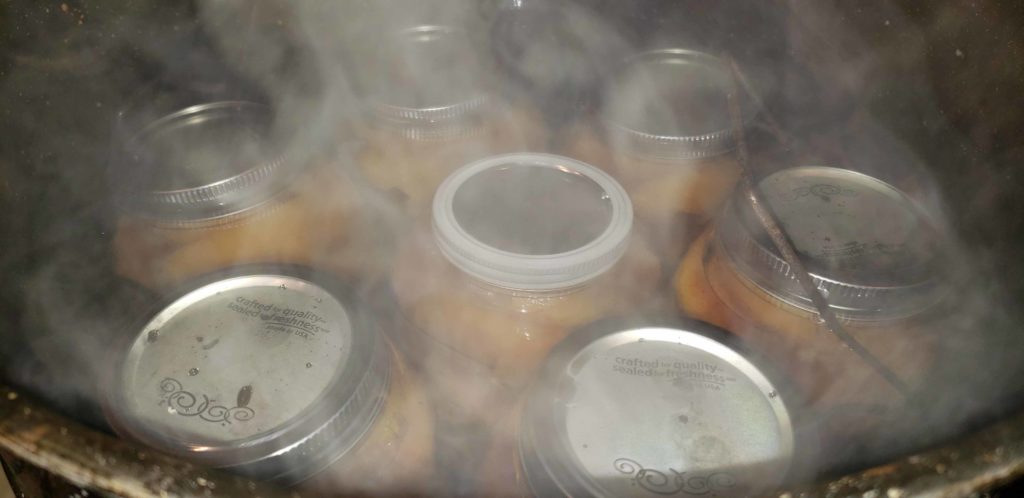
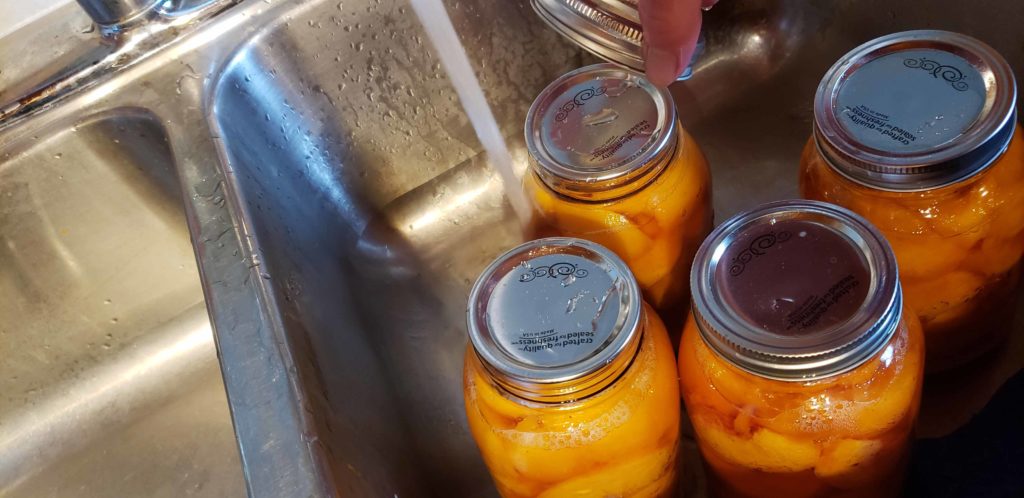
Once the timer goes off, it is time to take the jars out of the canner. Turn the heat off and remove the lid. Be careful of the steam. Use your jar lifter and carefully remove the hot jars from the pot. I like to put the jars on a kitchen towel laid out on my counter. The towel will absorb the water and any juices that leak out of the jars while they are cooling.

I usually let the jars cool until the next day. Once they are completely cool, I check to make sure they have sealed. If you press in the center of the lid, you should not be able to push down. If it pops back and forth, it has not sealed. Best to put that jar in the refrigerator and eat it soon.
Of the sealed jars, I remove the bands and wash both the jars and the bands. I dry them up and lightly screw the bands back on. It is not a good idea to tighten the bands on the jars while in storage. If for some reason the seal breaks, usually due to bacteria in your peaches, you would not know it util you ate it and it could make you sick. As long as the lid can pop open if the seal breaks, at least you can see they are bad and throw them out. I also like to lightly screw the bands on my jars just so I can tighten the lid on once they are open and don’t have to search for a band.

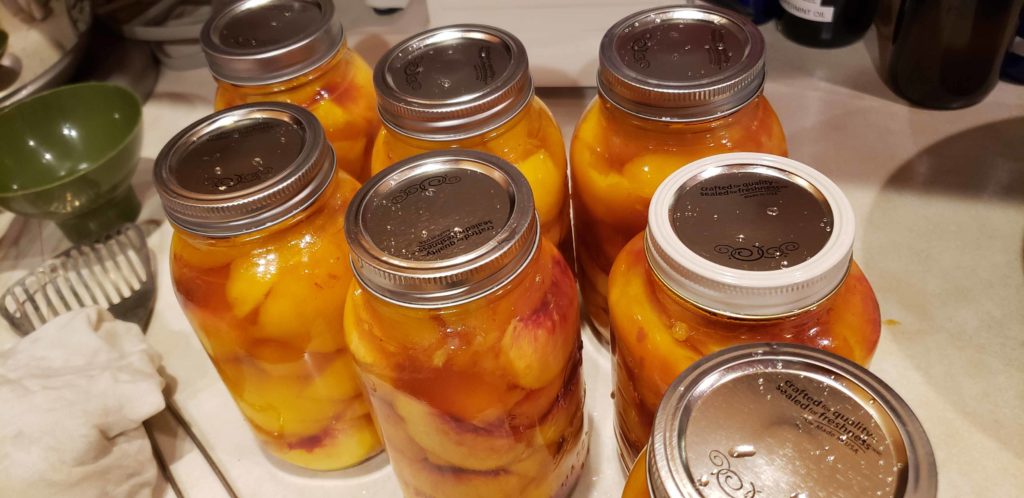
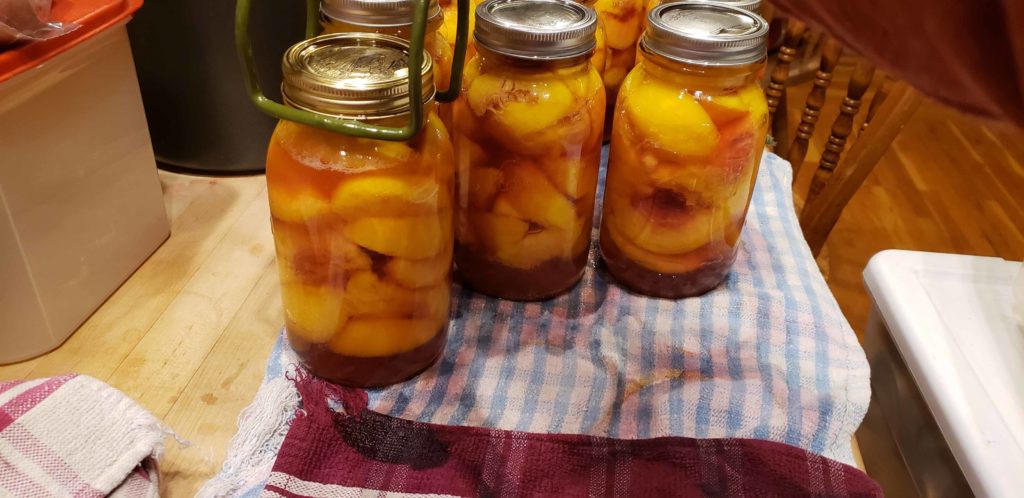
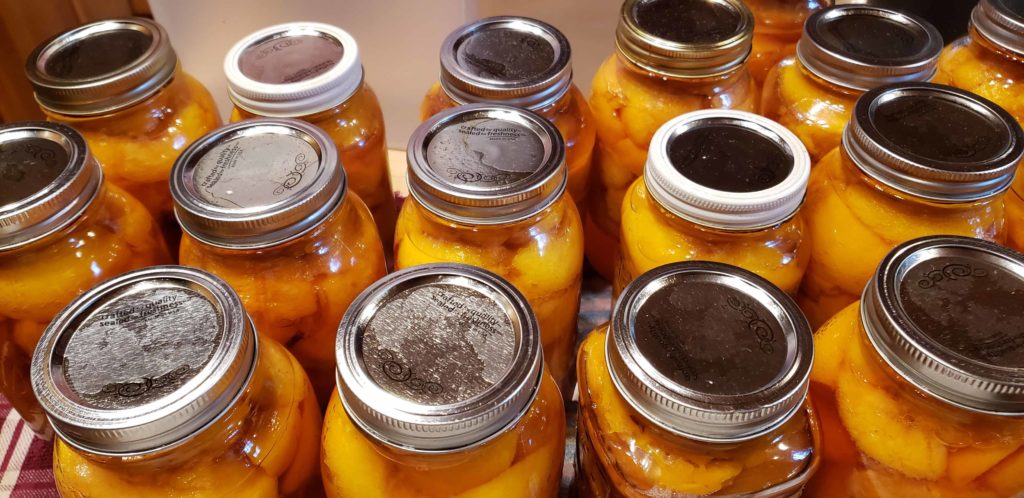
Once clean and dry, I put my jars into the pantry with labels on the lids as to the year they were canned. Of course I have to stack them on the kitchen table and take pictures first!
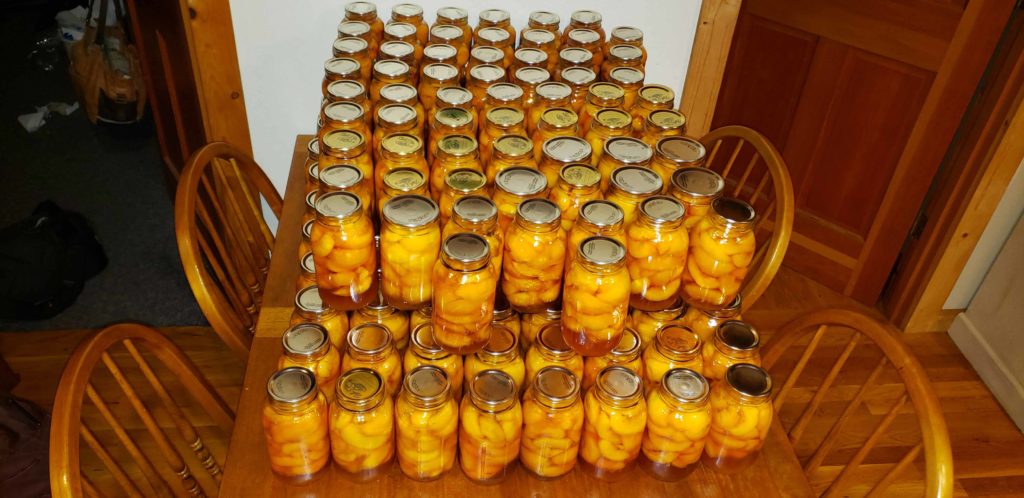
Out of that 364 pounds, i ended up with 154 canned and about 14 large gallon zip lock size bags of sliced up peaches which landed in the freezer. Of course a lot got eaten fresh and a few got tossed to the chickens as they were too far gone to deal with.
Oh by the way, to freeze them, instead of slicing them into a jar after removing the peels, I slice them onto a cookie sheet and pop them into the freezer for a little while. Once they are at least partially frozen, I will then bag them up and vacuum seal them. This way I can take out as many as I need and put the rest back in the freezer. This is great for smoothies as well and it also makes it easy for pies and cobblers.
All-in-all, a good canning session with lots of peaches that will last several years. The fact that I got to share it with you is even better. Can’t wait to eat them!
Do you can? What is your favorite food to can?